Loading cart contents...


Tiny Baumhaus Montageanleitung
Inhaltsverzeichnis
Den Inhalt anzeigen
Bevor du beginnst
Hier ist, was du brauchst, um dein Tiny Baumhaus zusammenzubauen:
✅ Schneidebrett – Schützt deinen Tisch oder deine Arbeitsfläche beim Ausschneiden der Elemente.
✅ Etwas Gerades mit einer Kante (z. B. ein Rührstäbchen) – Erleichtert das Falten und sorgt für scharfe, saubere Kanten.
✅ Schere – Zum Durchtrennen der Verbindungspunkte.
✅ Messer – Nützlich für präzise Schnitte an den Verbindungspunkten.
✅ Pinzette (optional, aber hilfreich) – Erleichtert das Greifen und Platzieren kleiner Teile.
⚠️ Wichtige Hinweise, bevor du beginnst:
Zu häufiges Hin- und Herbiegen des Metalls kann es brechen. Befolge die Montage-Reihenfolge, um unnötiges Biegen zu vermeiden.
Achtung, scharfe Kanten! Einige geschnittene Ecken des Metalls können scharf sein – also vorsichtig anfassen.


Schritt 1: Alle Elemente herauslösen
Alle Elemente sind bereits vorgestanzt und aus einer Messingplatte geschnitten. Um sie zu entfernen:
✨ Drücke fest auf die Verbindungspunkte, um die Teile zu lösen.
✨ Für kleinere Elemente verwende eine Schere oder ein Messer, um die Verbindungspunkte zu durchtrennen – das ist oft einfacher, als sie mit den Fingern herauszudrücken.
Schritt 2: Die Wände aufbauen
✨ Beginne mit dem Aufbau der Wände des Tiny Baumhauses und benutze die Kante eines geraden Gegenstands, um die Falten sauber zu machen.
✨ Richte die Faltlinien aus und drücke fest, um eine scharfe 90-Grad-Winkel zu erzeugen.
✨ Wiederhole diesen Schritt an allen Seiten, bis die Wände eine quadratische Form bilden.
✨ Das Dach noch nicht falten! Das kommt später.


Schritt 3: Die Basis falten
✨ Beginne mit den großen Laschen und falte sie in einem 45°-Winkel. Danach faltest du die kleineren Laschen.
✨ Verwende eine gerade Kante, um die Falten sauber und präzise zu halten.
✨ Wiederhole diesen Schritt an allen vier Seiten.
Schritt 4: Die Befestigungsstreifen anbringen
✨ Biege die langen Befestigungsstreifen vorsichtig und stecke sie in die oberen und unteren Schlitze auf der Rückseite des Baumhauses.
✨ Diese Streifen ermöglichen es dir, dein Baumhaus später an einem Ast zu befestigen.
.00_02_44_11.Still032")
Schritt 5: Die Basis an den Wänden befestigen
✨ Richte die Laschen an der Basis an den entsprechenden Schlitzen in den Wänden aus.
✨ Stecke die Laschen ein und biege die Basis leicht nach unten, sodass sie einen 90-Grad-Winkel bildet und fest am Boden des Hauses sitzt.
✨ Falte die Laschen auf der Innenseite, um alles sicher zu fixieren.
✨ Wiederhole diesen Schritt an allen vier Seiten.


Schritt 6: Das Dach montieren
✨ Verwende die Kante eines geraden Gegenstands, um das Dach sauber zu falten.
✨ Drücke vorsichtig mit den Fingern nach unten, um eine scharfe Falte zu erzeugen.
✨ Stecke die Dachlasche in den Schlitz und biege sie nach oben, um das Dach an seinem Platz zu sichern.


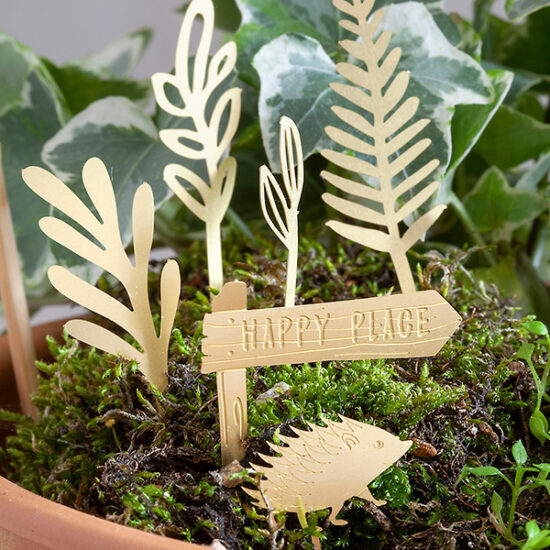
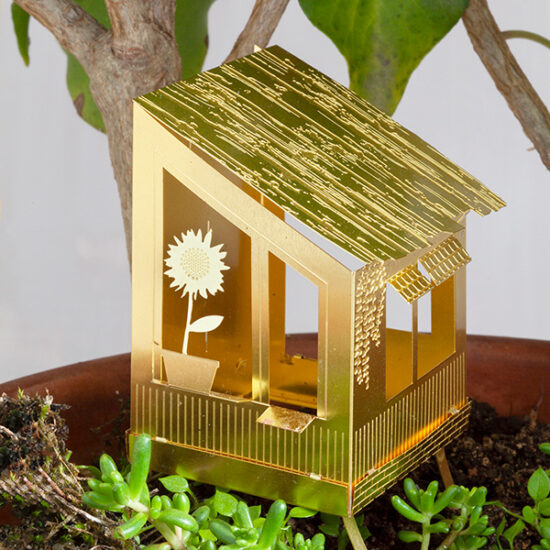
Schritt 7: Die kleinen Details hinzufügen
✨ Klappe die Fensterläden und Fensterbänke aus – am besten mit einer Pinzette.
✨ Löse die Blume vorsichtig mit einer Pinzette oder Schere, klappe die Fensterbank nach unten und die Blume nach oben.
✨ Löse die Leiter und klappe sie nach unten.
✨ Optional: Öffne die langen Standfüße an der Basis, um eine alternative Aufstellung zu ermöglichen.
Schritt 8: Die Strickleiter montieren


Schritt 9: Die Schaukel montieren
✨ Falte das Sitzpaneel in der Mitte und biege die seitlichen Laschen nach oben, um den Sitz zu formen.
✨ Nimm die Schaukelstange und schiebe die kleine Lasche durch den Schlitz im runden Teil.
✨ Wenn das T-förmige Ende das runde Teil berührt, sitzt es richtig – biege es leicht, damit es gerade bleibt.
✨ Fädle die kleine Lasche an der Schaukelstange durch den Schlitz an der Seite des Sitzes und biege die Lasche nach oben, um sie zu fixieren.
✨ Wiederhole diesen Vorgang auf der anderen Seite, um die Schaukel fertigzustellen.


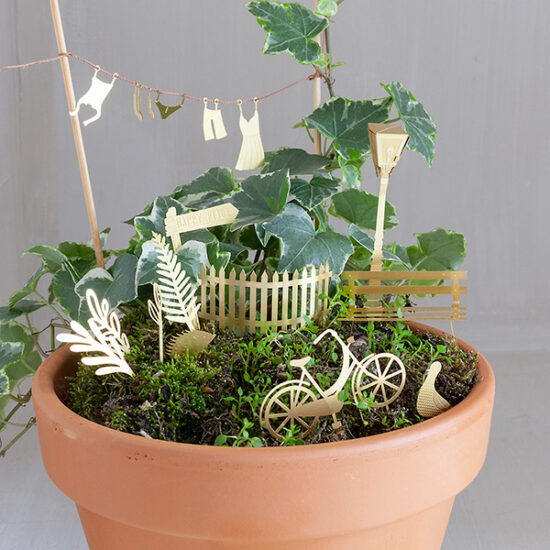
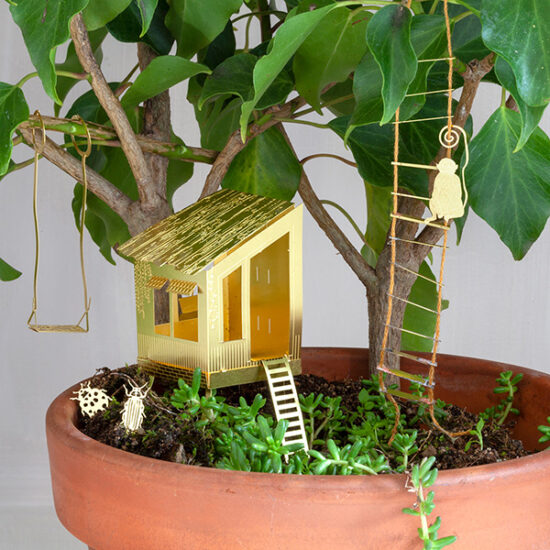
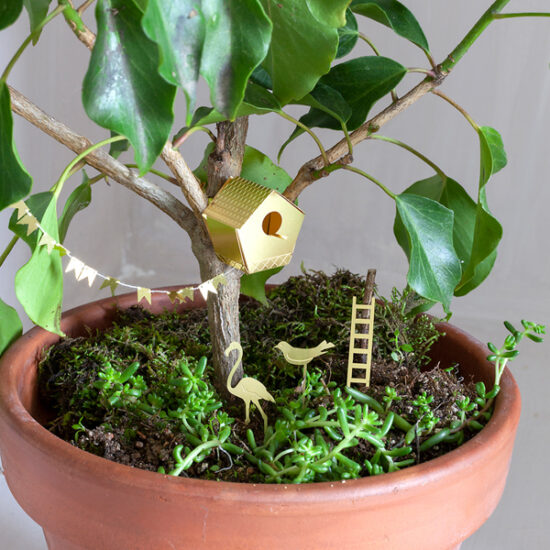
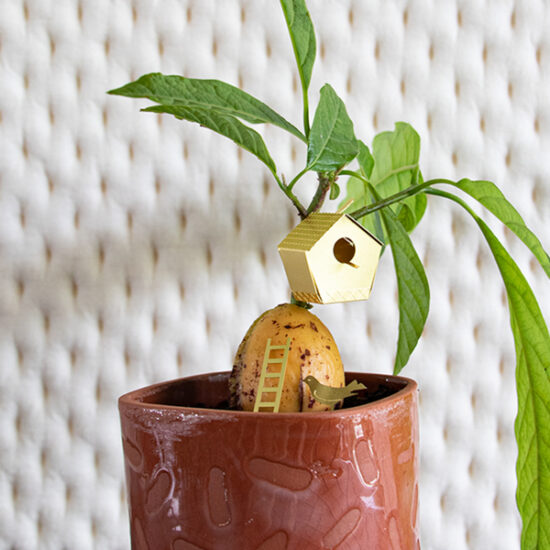
Schritt 11: Zeit, dein Tiny Baumhaus aufzustellen!
✨ Stelle das Baumhaus in die Blumenerde oder befestige es mit der Bindestrebe an einem Ast.
✨ Hänge die Schaukel und die Leiter an verschiedene Äste, um die Szene zu vervollständigen.
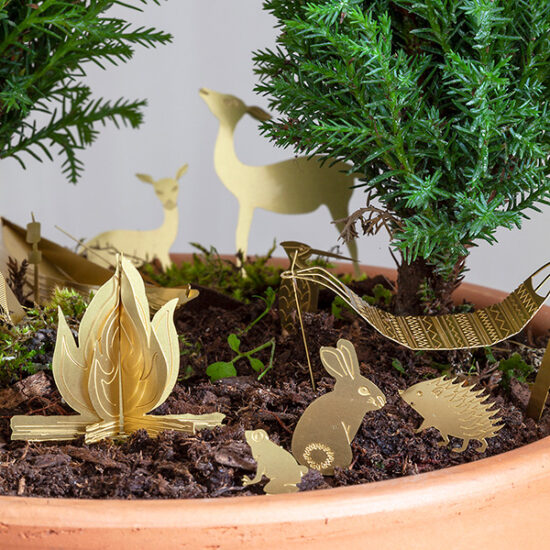
✨ Füge alle kleinen Freunde hinzu und erwecke dein magisches Baumhaus zum Leben!

Das könnte dich interessieren