Transform Waste into Art: DIY Gift Tags & Ornaments with Tomato Tubes
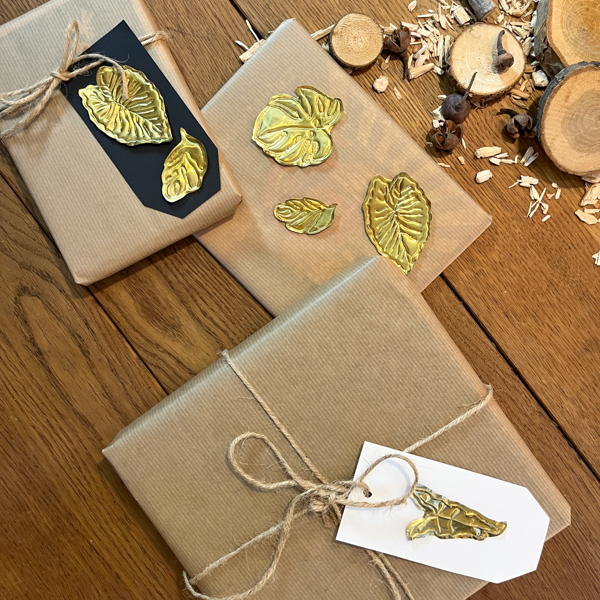
Turn Tomato Tubes into Creative DIY Projects: Fun, Eco-Friendly Craft Ideas!
Looking for a fun and sustainable way to upcycle everyday items? In this article, we’ll show you how to transform tomato tubes into creative DIY projects! From making unique gift tags to crafting charming ornaments for string lights, these easy-to-follow steps will help you turn waste into beautiful, eco-friendly decorations. Get ready to unleash your creativity and add a personal touch to your gifts and home decor!
Gathering Your Tools!
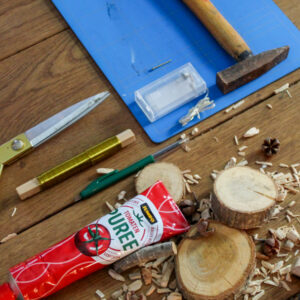
First, gather these basics for both projects. Once you’re ready, we’ll cover the specific tools for each DIY.
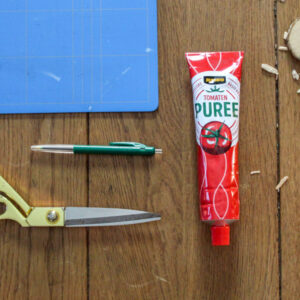
Tomato Tubes
Start with empty tomato paste tubes—most have a beautiful gold coating on the inside, but not all. Before buying more for this project, check one to make sure it has that shiny interior. If you’re using a full tube, don’t worry about wasting the paste! Simply squeeze the contents into a plastic bag or bowl, and store it in the fridge or freezer for future cooking. This way, you get your crafting materials and no waste.
Scissors
A good pair of scissors will help you cut through the tube smoothly.
Pen
I recommend using an empty or nearly empty pen to trace your shapes. A full pen works too, as the ink won’t adhere much to the coating, but stick with an empty one to avoid any chance of stains. Or, if you like the idea of colorful marks, experiment with pens in green, blue, or red—it’s all part of the creative process!
Wooden Spoon
You’ll use a wooden spoon to flatten the tube. It’s perfect for smoothing out any bumps without leaving scratches on the delicate gold coating.
Something to Protect Your Table
Trust me on this one—without protection, you’ll end up pressing shapes right into your (wooden) table. I use a cutting mat, but a cutting board, a piece of wood, or even layers of fabric can do the job just as well.
Free template – Click on the leaves illustration to get the free template. Use this to trace beautiful leaves onto the tubes. –>
Tools You’ll Need for Gift Tags
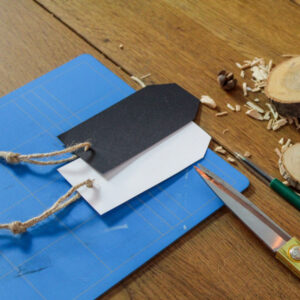
For this part of the project, you can choose to keep things simple or make your gift tags from scratch for a personal touch. Here’s what you’ll need:
- Gift Tags
You can buy pre-made ones at a craft store or make them yourself.- If you want to DIY:
- Choose paper in the color or texture you like.
- Use scissors to cut the paper into your desired shape.
- A hole puncher will come in handy to create a hole for the rope or ribbon.
Making them yourself adds a personal and creative flair to your gift tags—easy peasy!
- If you want to DIY:
- Poster Gummy or Glue
To attach the tomato tube shapes to your gift tags, I like using poster gummy. It’s easy to adjust and reposition if needed, but glue works just as well for a more permanent fix.
With these tools, you’re ready to craft charming, personalized gift tags perfect for any occasion!
Tools You’ll Need for the Light String with Ornaments
Creating a unique string of lights with ornaments is simple and fun. Here’s everything you’ll need:
- String of Lights
I use fairy lights with a flexible wire. The wire makes it easier to style and position the ornaments exactly how you want them. - Nail and Hammer
To attach your tomato tube ornaments, you’ll need to make a small hole in each shape. A nail and hammer work perfectly for this step. Remember to protect your table or work surface while you hammer! - Wire or Thin String
Once you’ve made the holes, use wire or a thin string to loop through the ornaments. This will let you secure them to your string of lights and arrange them however you like.
Video Tutorial
Watch our video tutorial to get inspired, and get started!
How to Make Shapes from Tomato Tubes
-
- Prepare the Tomato Tube
- If it’s full, transfer the paste to a bag or bowl and store it in the fridge or freezer for later use.
- Cut off the top and bottom of the tube, then slice it open.
- Wash off any leftover paste and dry the tube thoroughly.
- Flatten the Tube
- Place the tube on your protected workspace.
- Use a wooden spoon to smooth out bumps and flatten the surface without leaving scratches.
- Trace Your Shapes
- Print and cut out our free template (click the leaves above to download).
- Place the template on the gold side of the tube and trace around it with a pen.
- Remove the paper template and trace over the lines again to make them more visible.
- Cut the Shapes
- Carefully cut along the traced lines with scissors. Watch out for sharp edges!
- Prepare the Tomato Tube
Now you have beautiful shapes ready to use for your gift tags or string lights.
How to Make Gift Tags with Tomato Tube Shapes
- Prepare Your Gift Tags
- You can buy pre-made gift tags at a craft store or make your own.
- To DIY, cut paper in your desired color into tag shapes and use a hole punch to make a hole for the ribbon or rope.
- Attach the Shapes
- Take your pre-cut tomato tube shapes and attach them to the gift tag.
- Use poster gummy for a removable option or glue for a permanent finish.
- Add the Finishing Touches
- Thread ribbon, twine, or rope through the hole in your tag.
- Write your message or leave it blank for a minimalist look.
These custom gift tags are easy to make and add a creative, personal touch to any present.
How to Make a Light String with Tomato Tube Shapes
- Prepare the Shapes
- Follow the earlier guide to create your shapes from tomato tubes. Ensure they are clean, smooth, and ready for the next step.
- Punch a Hole
- Use a small nail and hammer to carefully punch a hole near the top of each ornament.
- Tip: Protect your table with a sturdy surface or cutting mat before hammering!
- Attach to the String of Lights
- Cut a small piece of wire and thread it through the hole in the ornament.
- Wrap the wire securely around the string of lights at your desired intervals.
- For best results, use fairy lights with a wire base for easy styling.
- Style and Display
- Once all the ornaments are attached, arrange your light string to highlight your beautiful creations.
- Hang them along a mantle, around a window, or on a tree for a cozy, whimsical touch.
This DIY is perfect for transforming simple materials into something magical and sustainable!
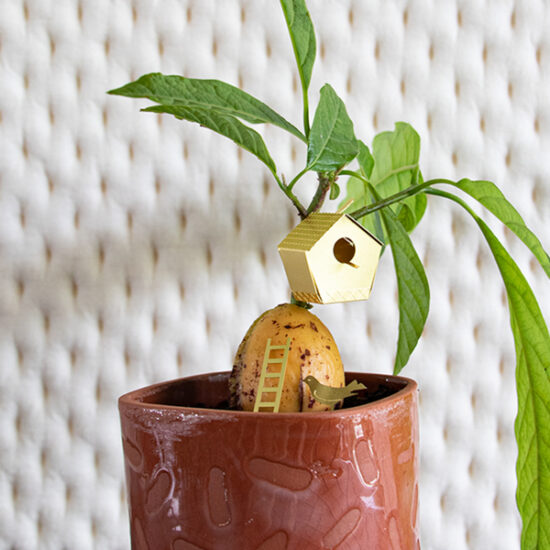
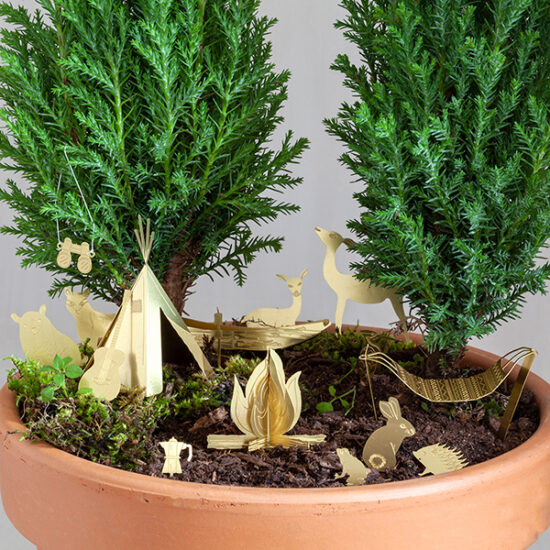
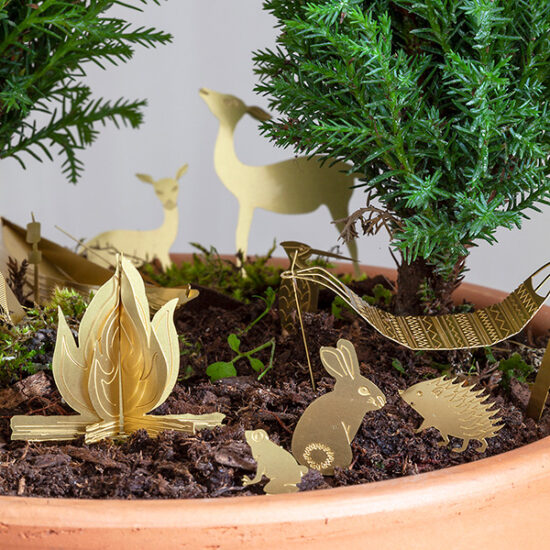
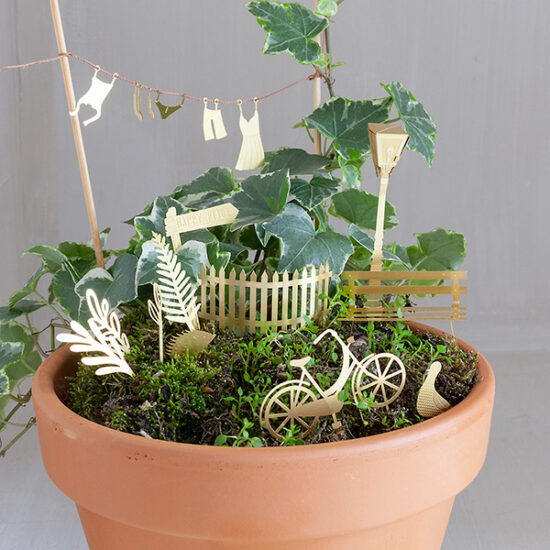
Do you prefer a more ready-made brass product? Our Tiny accessories might be just right for you:
These might interest you
-
63,99NOK
-
160,18NOK
-
136,13NOK
-
160,18NOK

