Crafting beautiful impressions from nature: A Guide to Leaf Printing
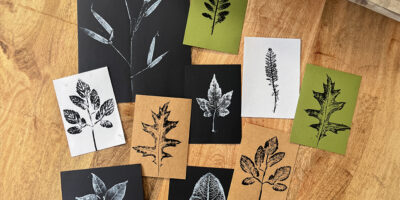
Bringing Nature's Beauty into Your Home!
Are you ready to embark on a delightful journey through the art of leaf printing? This enchanting craft is not just about creating art; it’s about bringing a piece of the outside world into your home, transforming leaves and flowers into stunning prints. Let’s dive into this nature-inspired adventure!
Gathering Your Tools!
1. A Glass plate: Begin with a glass plate – you can use an old picture frame that’s waiting for a new life.
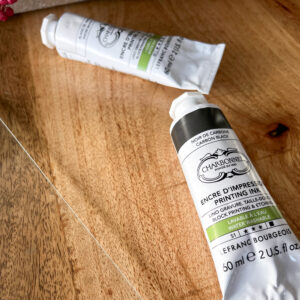
2. The right ink: Regular paints like gouache, acrylic or latex paint won’t do here; we need printmaking ink. They’re meant for linocut printing or etchings. They’re slow-drying and viscous. You can use an oil-based version, or nowadays there are also water-based options that you can clean with water. Examples are Cranfield Caligo Safe wash ink, Akua, or Scola ink, each brings its own charm. This is absolutely key for success, trust us on this. You won’t get the same results with any other type of paint.
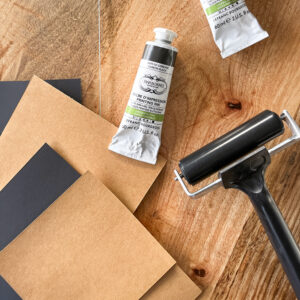
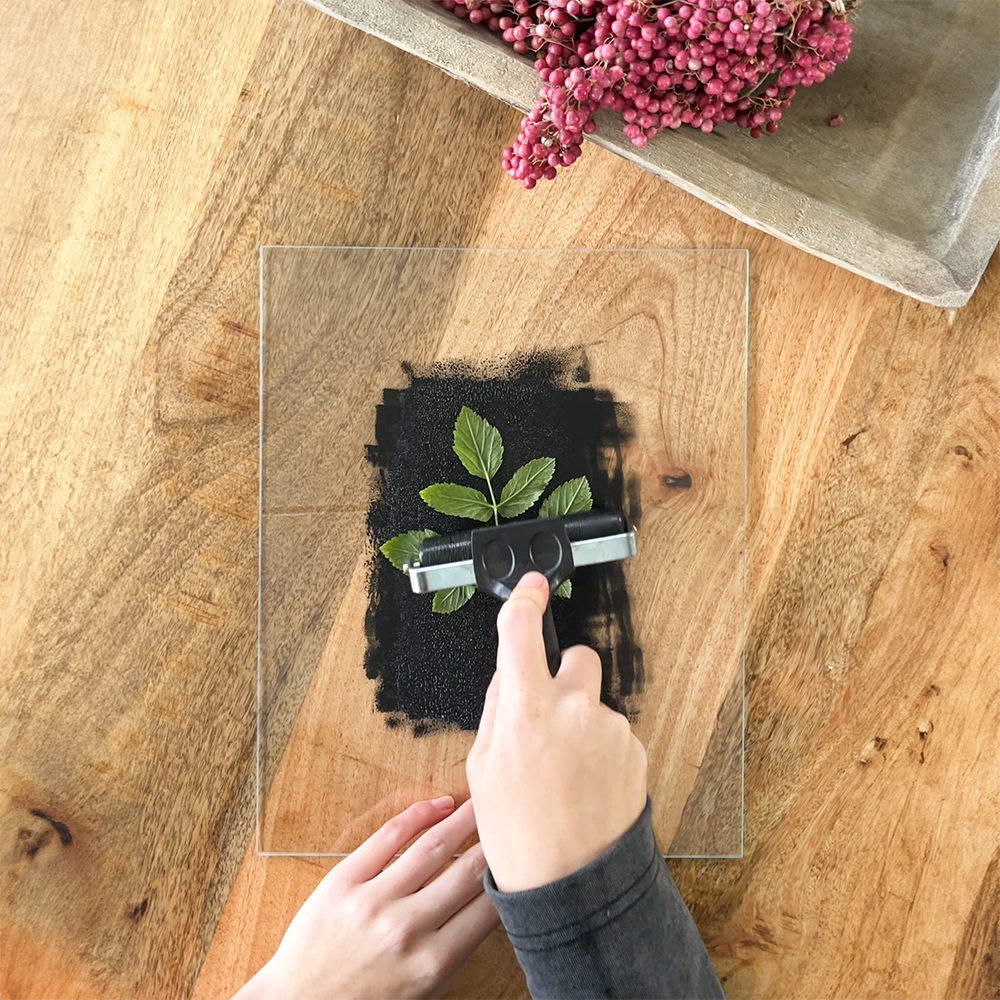
4. A brayer: This rubber roller is your trusty sidekick, ready to spread color across your canvas. The black Essdee roller is a favorite, but there’s room for creativity – even a sponge roller can join the party.
5. Paper: Feel free to experiment with any smooth-textured paper that’s not too thick. Even humble printer paper can be the start of something beautiful. Don’t limit yourself to white, try different color combinations!
5. Cleaning Companions: Keep some cloth or wet wipes close by to tackle any messy surprises. You can cover your workspace with newspaper to avoid any mishaps. Think of where you’ll lay your prints to dry beforehand.
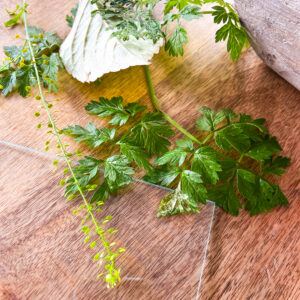
6. Leaves, flowers and other found botanicals: Look for highly detailed and textured specimens for the best results.
The Artistic Process
Ink the Glass: Gently roll a very thin layer of ink onto your glass plate. Remember, a little goes a long way in capturing those intricate leafy details.
Choose Your Nature’s Brush: Select a leaf or flower, coat it lightly with ink on both sides, and sandwich it between two paper sheets. Press down evenly, as if you’re whispering a secret to the paper.
The Big Reveal: Peel back the paper to unveil your botanical masterpiece. Each print is a unique story, a fleeting moment of nature captured forever.
The wait: Don’t forget the inks are very slow-drying, so give your prints plenty of time to cure to avoid any smudges.
Click on the thumbnail to watch our step by step video of the process. Have fun!
.
Unleash Your Creativity
Colors & Sizes: Mix and match ink colors and play with different paper sizes. Black and white inks offer a timeless elegance, but there’s a whole spectrum waiting for you.
Fabric Fun: For those who wish to venture beyond paper, fabric printing inks are your new friends. They’re just perfect for adding a natural touch to textiles.
Final Thoughts
Leaf printing is more than a craft; it’s a celebration of nature’s beauty, an exercise in creativity, and a wonderful way to create memories. Whether you’re looking to decorate your home, make unique gifts, or simply spend a creative afternoon, leaf printing is a charming and fulfilling activity. So, gather your materials, pick your favorite leaves, and let the magic of nature guide your artistic journey!
Video Tutorial
Watch our video tutorial to get inspired, and get started!
Add a pop of color to your living space with our plant products:
These might interest you

