Free shipping to the United States (US) from $100

How to sprout seeds and grow plants in water, with our germination/propagation plates:

You can use our germination plates with a variety of different seeds, nuts, bulbs and plants. Below is the basic technique for all seeds and pits.

We’ve made a few short videos showing you the best method for a few different seeds and plant types. If you prefer to read, rather than watch our quick tutorials, scroll down.

Which seed or plant would you like to grow with your germination plate?

How to germinate avocado pits

Do you want to learn more about avocados?

Click here for the article.

How to germinate lemon/citrus pits

Do you want to learn more about lemons?

Click here for the article.

How to germinate almonds

Do you want to learn more about almonds?

Click here for the article.

How to germinate pecans

Do you want to learn more about pecans?

Click here for the article.

How to propagate a cactus

Do you want to learn more about cactus?

Click here for the article.

How to propagate a pilea

Do you want to learn more about pileas?

Click here for the article.

How to germinate acorns

Do you want to learn more about acorns?

Click here for the article.

How to germinate beans

Do you want to learn more about beans?

Click here for the article.

How to germinate peanuts

Do you want to learn more about peanuts?

Click here for the article.

How to germinate chestnuts

Do you want to learn more about chestnuts?

Click here for the article.

How to propagate a pineapple

Do you want to learn more about pineapples?

Click here for the article.

All the plants to grow with the size L plate

How to germinate mango seeds

Do you want to learn more about mangos?

Click here for the article.

How to propagate your plants

Do you want to learn more?

Click here for the article.

How to germinate lychee pits

Do you want to learn more about lychee?

Click here for the article.

How to germinate walnuts

Do you want to learn more about walnuts?

Click here for the article.

How to propagate a hoya

Do you want to learn more about hoya?

Click here for the article.

All the plants to grow with the size S plate

It’s impossible for us to make a video for every possible sort of seed. But the technique is similar for many varieties.

Dates, longans, lotus seeds, gingko, palm: follow the same method as the lychees.

Pistachios, macadamias: follow the almond method. Make sure they are raw, not roasted!

Castanospermum: follow the avocado method.

Hazelnuts: follow the walnut method.

Sweet chestnuts: follow the horse chestnut method.

Check out all those different types of plants in action in this overview video:

Watch your seeds come to life with our germination plates:

Don't like videos?

Here’s the text version of the basic technique. However please refer to the videos for small variations that work best for each variety.

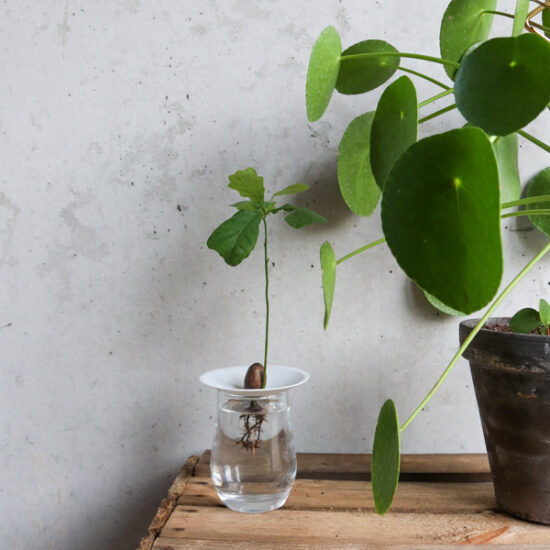
Larger tree seeds like acorns, chestnuts, and conkers work well. Smaller bulbs such as crocus, snowdrop or muscari are also very easy to grow. To Botanopiathem indoors all year round, you will need to trick them into thinking now is the perfect time to germinate. Follow the “cold treatment method” below.

Raw nuts like almonds, peanuts, cashews and pistachios or citrus fruit pits like lemon and oranges, once sprouted, will also fare well with our Botanopia Germination & Propagation Plate. Avocado and mango pits are a big favourite. Follow the “baggie method” below.

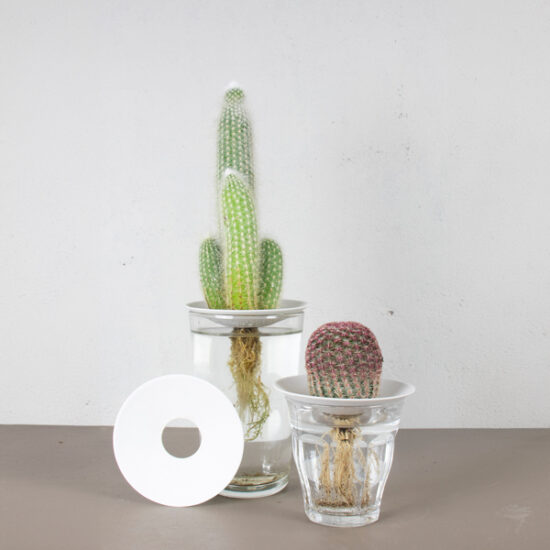
Feel free to experiment with fast growing seeds like beans and legumes, or even (sweet) potatoes, lemongrass and ginger! You can also use it to root small plant cuttings, a favourite that’s sure to succeed is the spider plant, but succulents and cacti are good candidates.

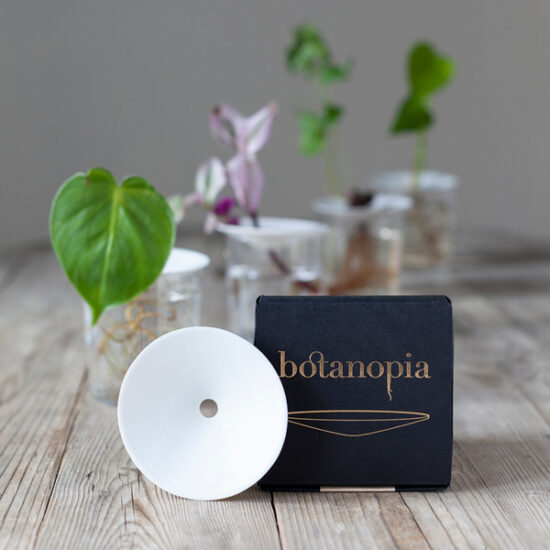
The baggie method:

Not all seeds are guaranteed to sprout, so for best success we recommend sprouting a few at once. This is our favourite method, also called “the baggie method”.

You’ll need:

  • your seeds/nuts/pit
  • a small sealable plastic bag (like a ziploc bag)
  • a paper towel

Place your seeds in the middle of the paper towel, fold in quarters so that your seeds are neatly tucked inside, then place inside your plastic bag. Wet the paper towel with a little bit of water, just enough to moisten it, but not so much that you’ll have water pooling inside the bag. Close your bag up, and place in a warm spot. You might want to write the date on the bag to keep track of it’s progress. When you see the first little roots coming out your seeds, it’s time to place it in Botanopiawith the roots in the water and watch it develop leaves.

If you have issues with mould developing on your seeds, you can use a mix of water and hydrogen peroxide to wet the paper towel. Dilute your hydrogen peroxide 1:25 and gently wipe your seeds with that solution too before wrapping them in a new paper towel and bag. Germination time depends on the seed and can take between 2 days (beans) and a month (avocado pits). Patience is key!

The cold treatment method:

This is a variation on the baggie method, and is used on seeds that normally grow in colder climates. We need to trick the seed into thinking it’s just spent a cold wet winter outside in the ground, and now spring is coming and it’s time to grow, no matter what season or climate we are actually in right now. We use this method on acorns, chestnuts, conkers, and tree nuts in their shell like walnuts and almonds. In horticulture this is called stratification, but we like to think of it as a ski vacation for your seeds.

  • First you will need to soak your seed for 48hrs in water, changing the water everyday.
  • After your seeds have soaked, place them in a moist paper towel inside a plastic bag, just like for the regular baggie method.
  • Place the baggie in the fridge, and wait for the seeds to germinate. This can take between 10 days and 2 months depending on your seeds. The waiting is the hardest part! Check inside the bag every few days to monitor the moisture level and sprouting of the seeds. Once you have roots long enough, you can take them out of the fridge and grow the seeds further in your sprout plate, with the roots in the water.

If you can’t wait to get new life growing into your sprout plate, why don’t you start with a fast-growing bean, while your seeds are taking their winter holidays in your fridge?

Do you want to see what to expect of your growing seeds? We had fun filming a few time-lapse videos over several weeks, showing the growth of the seeds and roots.

Acorn growth time-lapse

Tiny acorn growth

Bulbs growth

Walnut time-lapse

Jackfruit growth time-lapse

Horse chestnut growth

Tulip and chestnut growth

Beans growth

Holidays alert🚨: It's VERY busy, at Botanopia and at the postal services. Expect extra shipping delays. Thanks for your patience! 😅 Dismiss

Join Waitlist We will inform you when the product arrives in stock. Please leave your valid email address below.